Get Started
We tend to think of our digital guide as fairly self-explanatory. However, if you take a moment to familiarize yourself with it prior to your departure, you’ll be on your way faster than the shake of our Aussie’s tail. If you have any questions, always feel free to call or email us, we look forward to hearing from you.
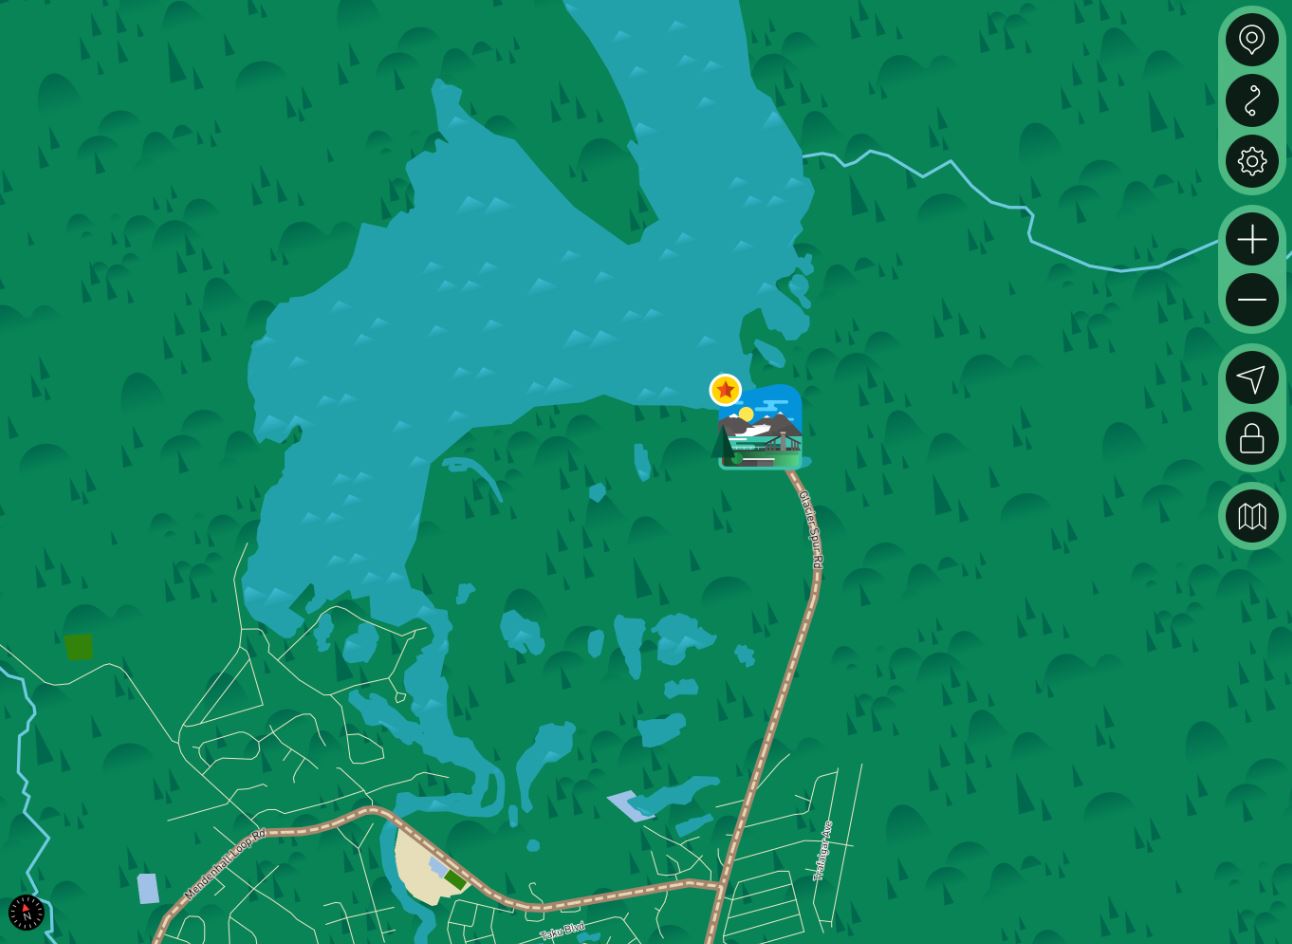
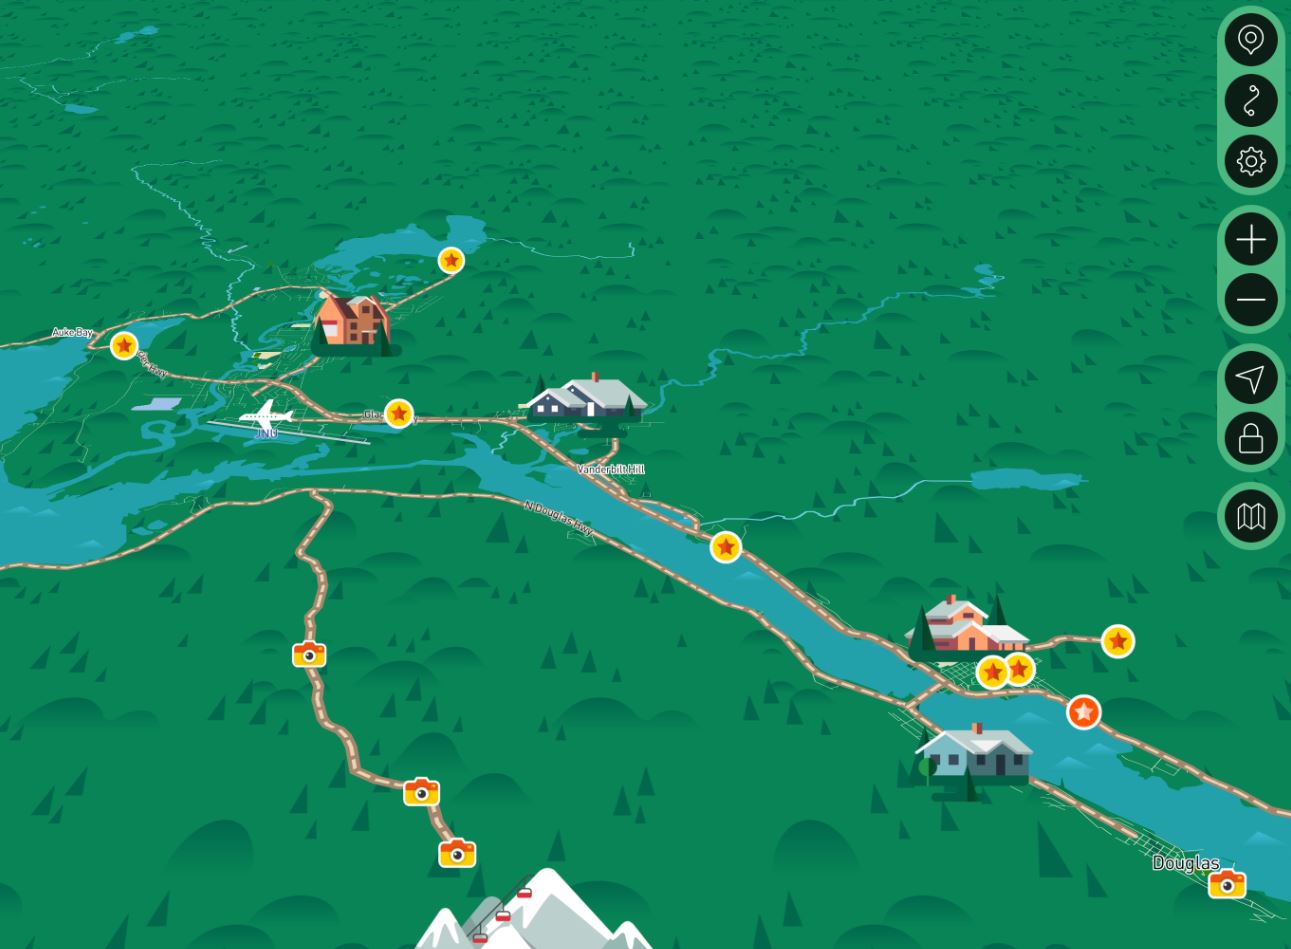
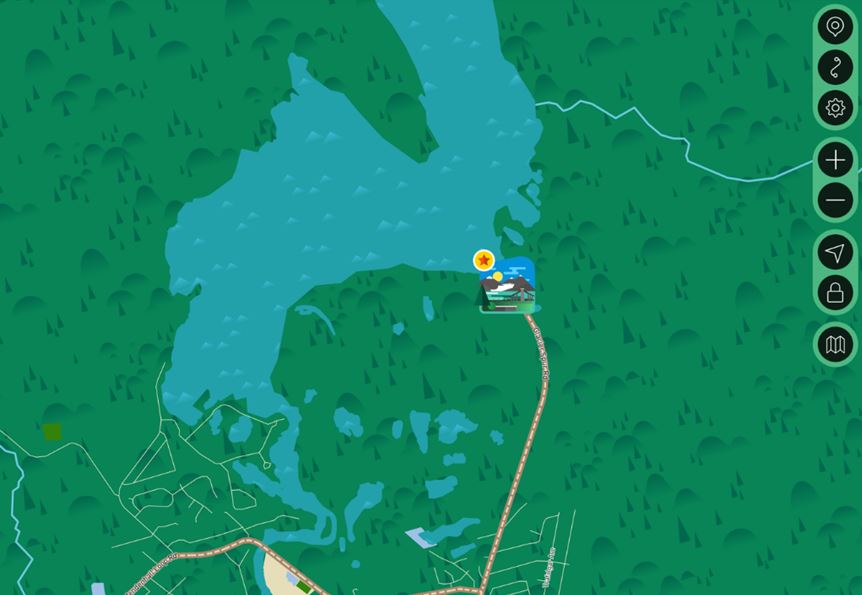
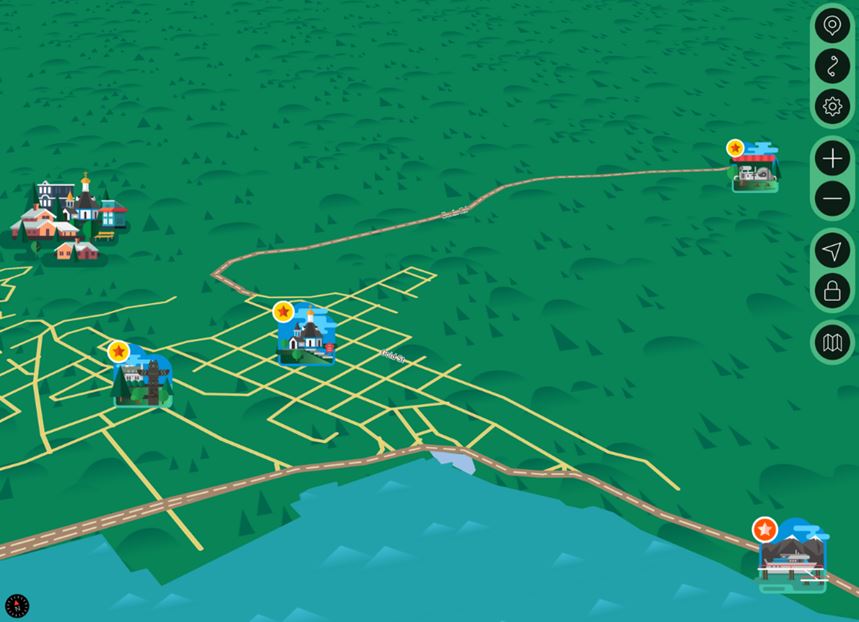
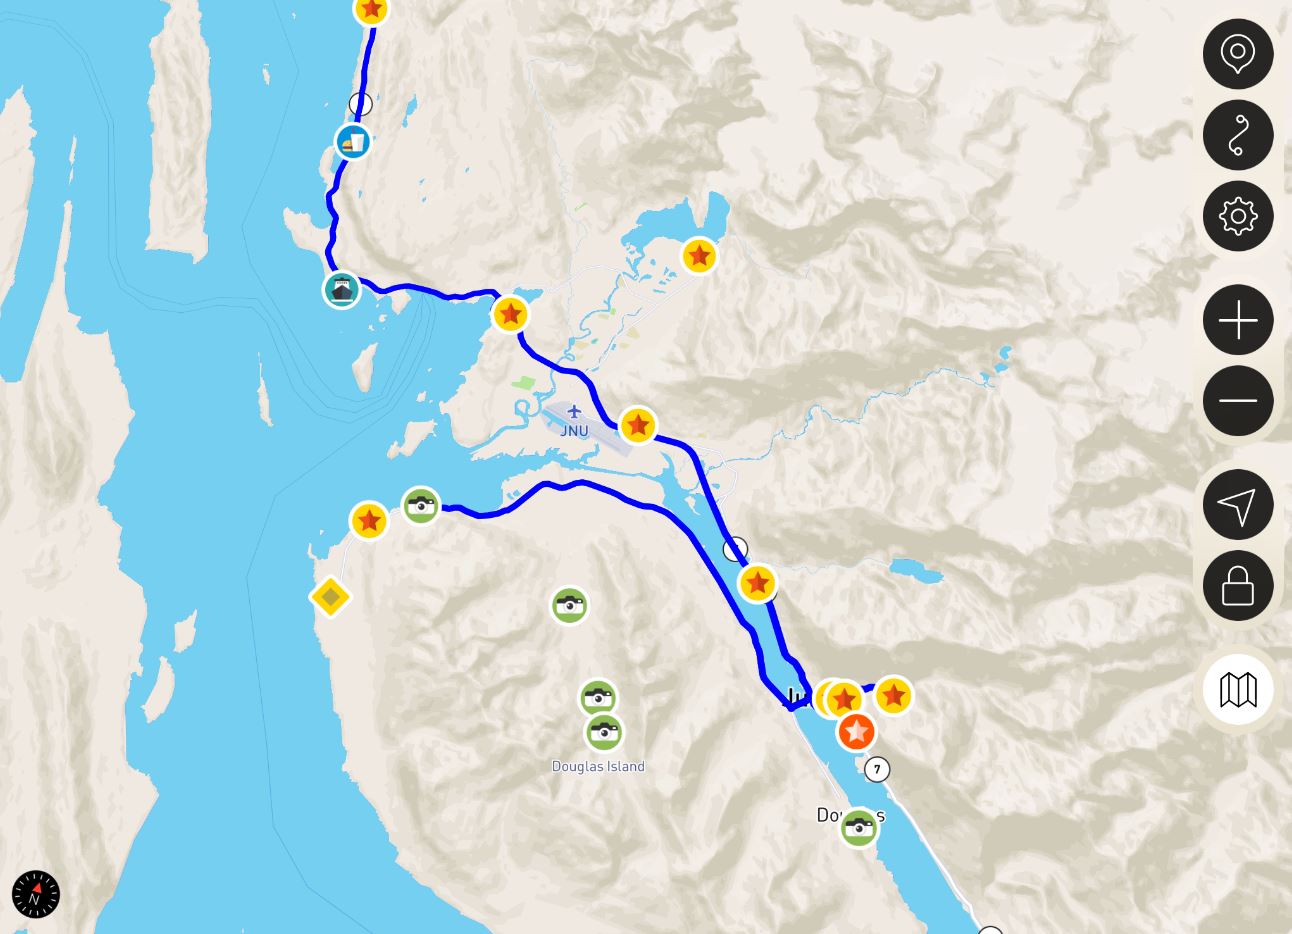
There are four icons on the map you will need to navigate your adventure.
POINTS OF INTEREST
We highly recommend visiting.
START/END
Vehicle pickup/return.
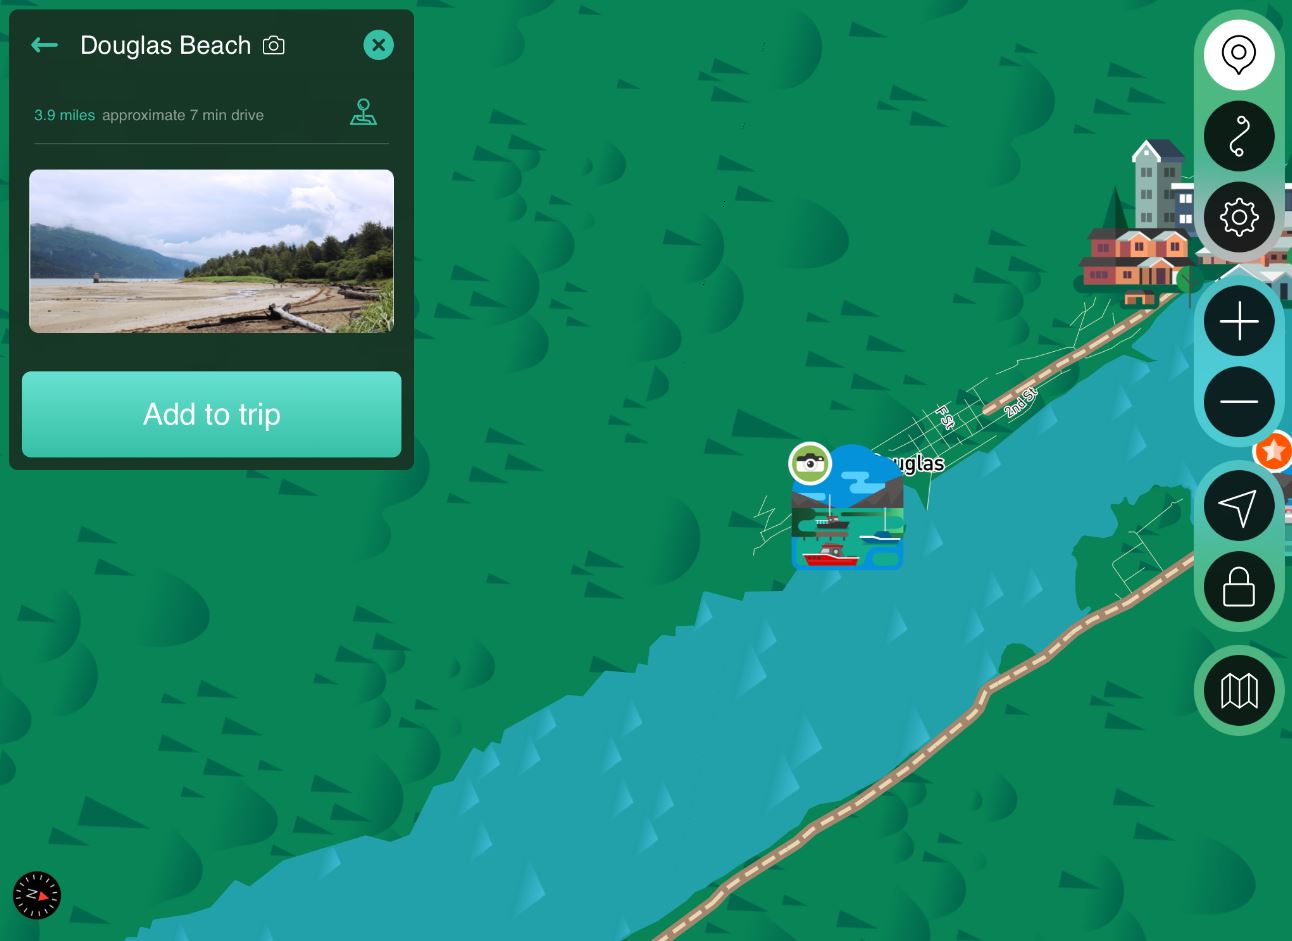
PHOTO OPS
Beautiful photo opportunity sites.
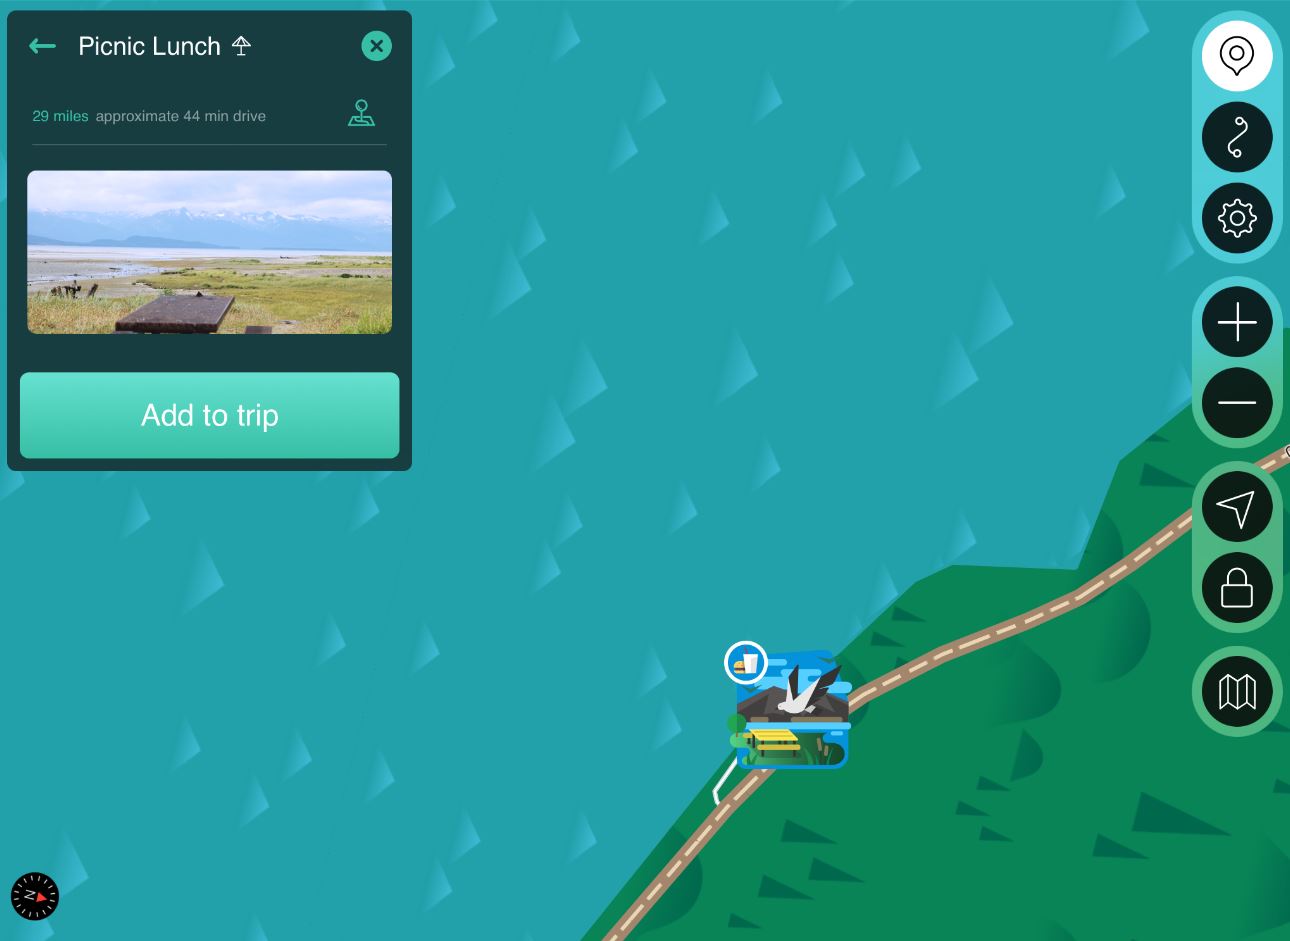
PICNICS
Suggested picnic sites.
On the upper right corner of your screen, you will notice eight buttons that are used to navigate your trip.
Design (or Change) Your Trip
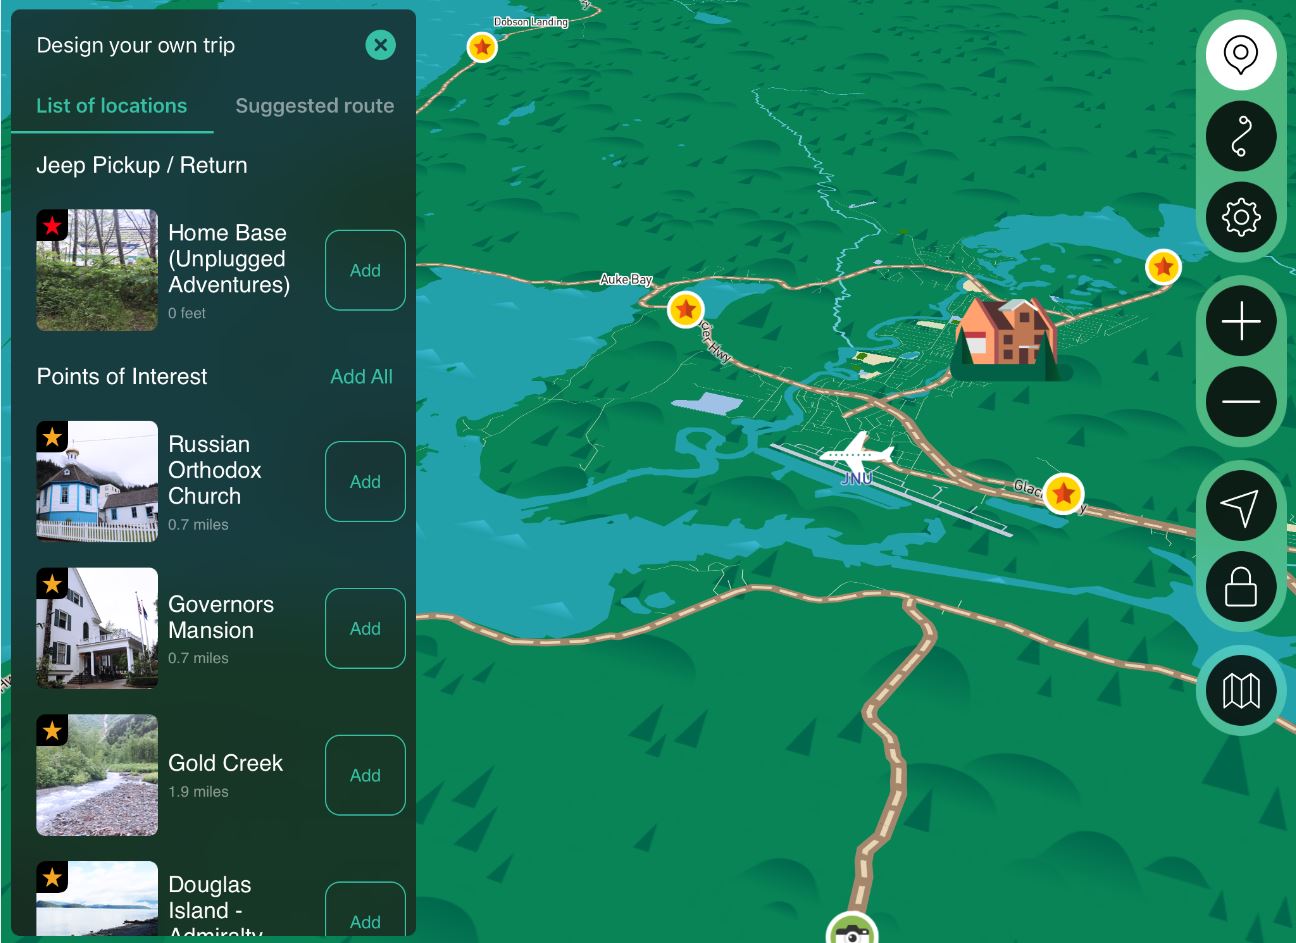
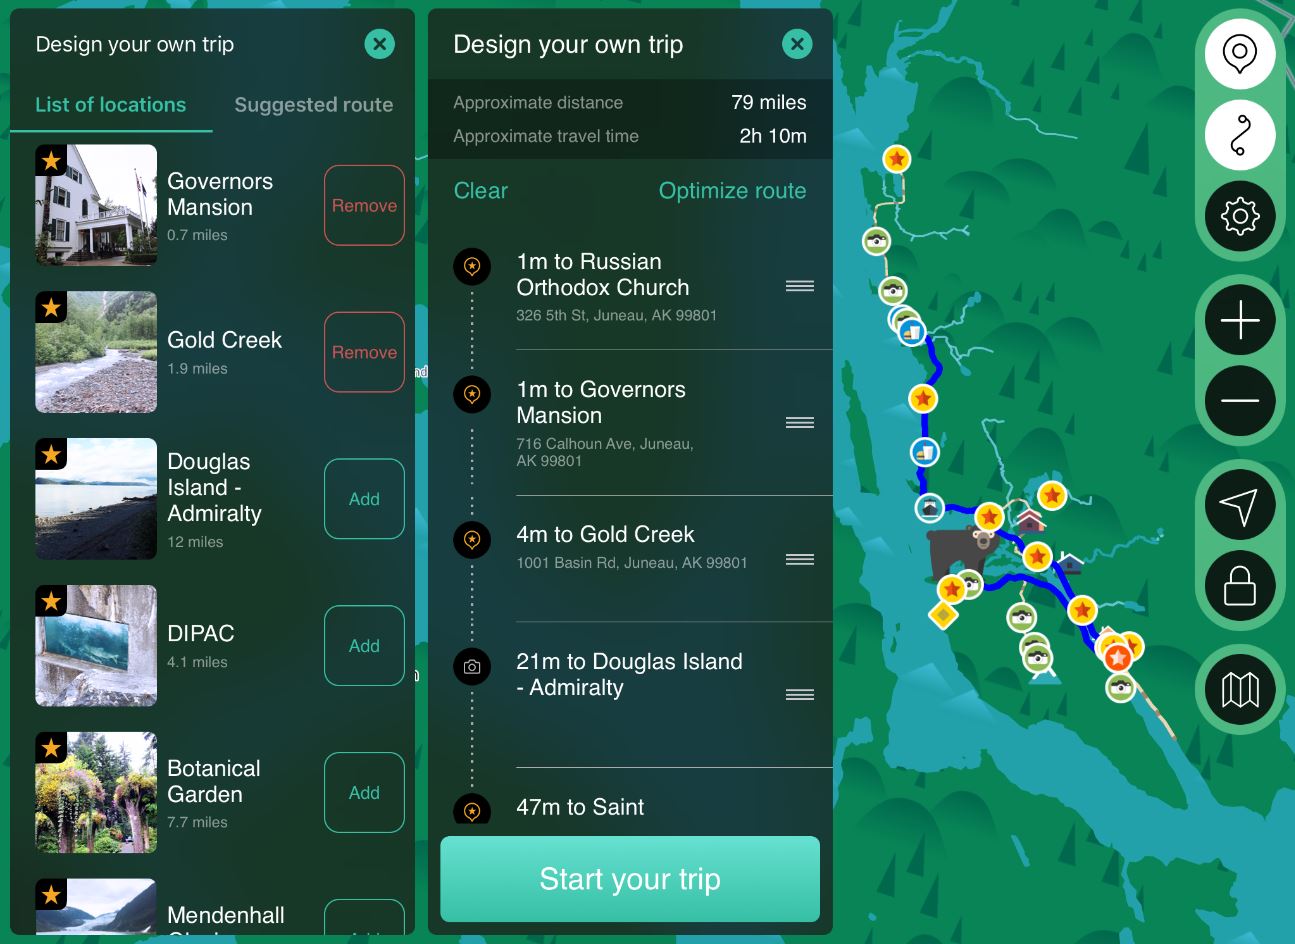
Select the "Suggested routes" button to configure your trip. Choose from a pre-programmed excursion using the 'Suggested route' tab, or customize your trip using the 'List of locations'.
Suggested Routes
Use the ‘Suggested routes’ tab to select a pre-programmed tour. Simply select ‘Add’ to load your adventure.
NOTE: The pre-programmed tours plan for an approximately 30 minute stop at each location. The actual time of your tour will depend on how much time you spend at each site.
List of Locations
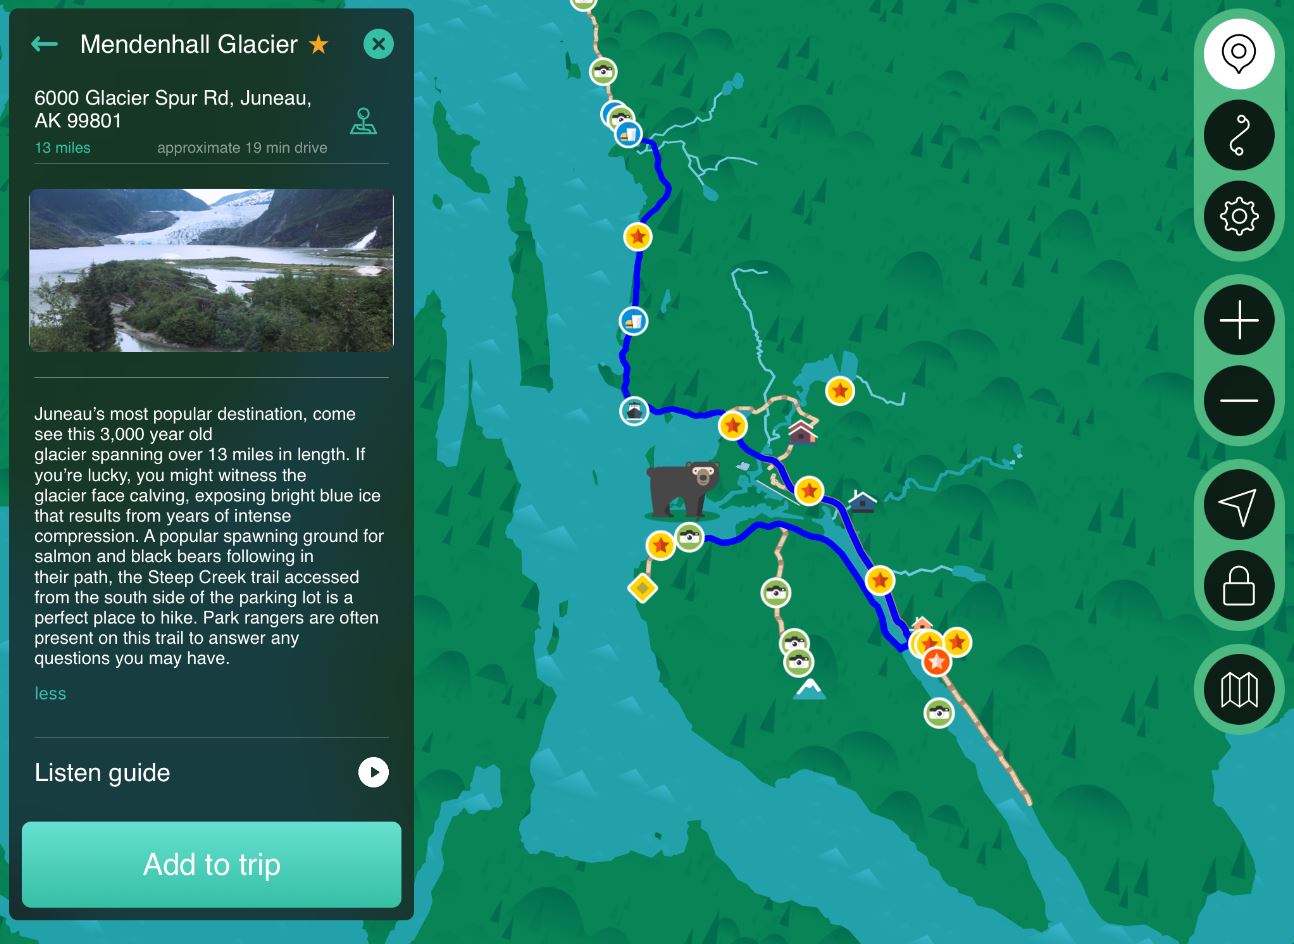
Using the ‘List of locations’ tab, you can customize each location you want on your trip. Touch the picture for a brief description of the location, then select ‘Add’ if you want it included on your drive.
Optimal Route Assistance
Want to design your own trip? Once you’ve decided where you want to go using the Design feature above, select this button to see your total drive in both estimated time and distance.
Optimize Route
The guide should automatically calculate the shortest route to all your points of interest, but it’s always a good idea to select ‘Optimize route’ to double check. When adding or removing a location to a trip already in progress, be sure to select 'Optimize route'.
NOTE:
Travel Time does not include time you will want to spend at each location (ex: a 4 hr tour will include approx. 2 hr, 10 min of driving, plus ~35 min at 3 locations).
Control Box
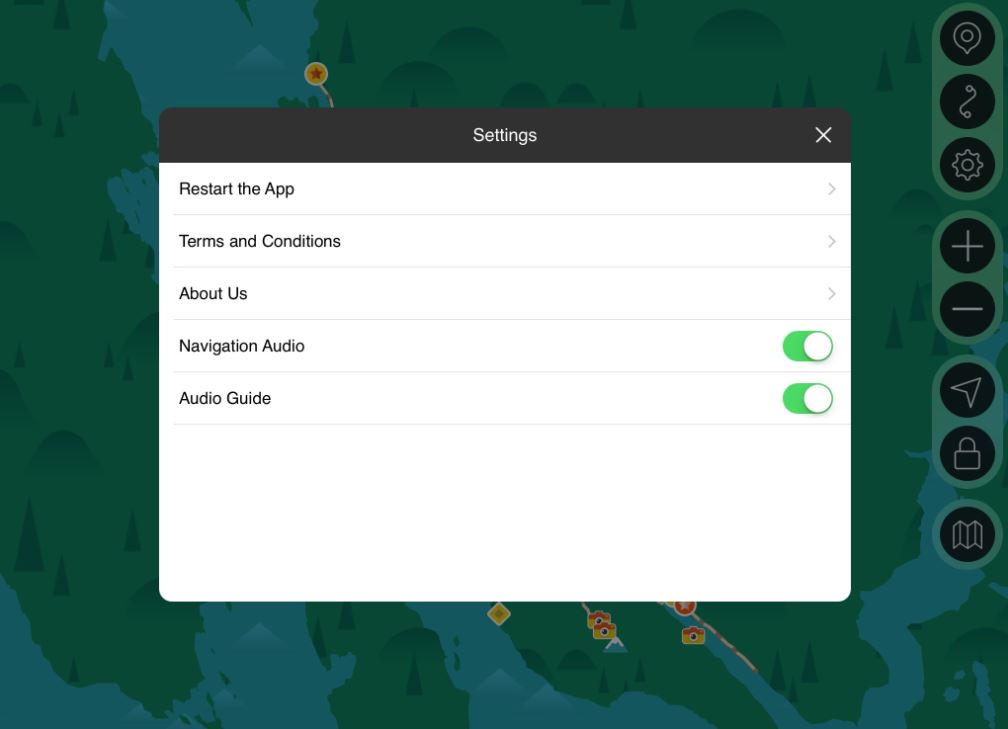
You can use the Control Box to 'Restart the App' if it needs a quick reboot, but the two most common uses of this button are:
Zoom In
Get a more detailed view of your current location.
Zoom Out
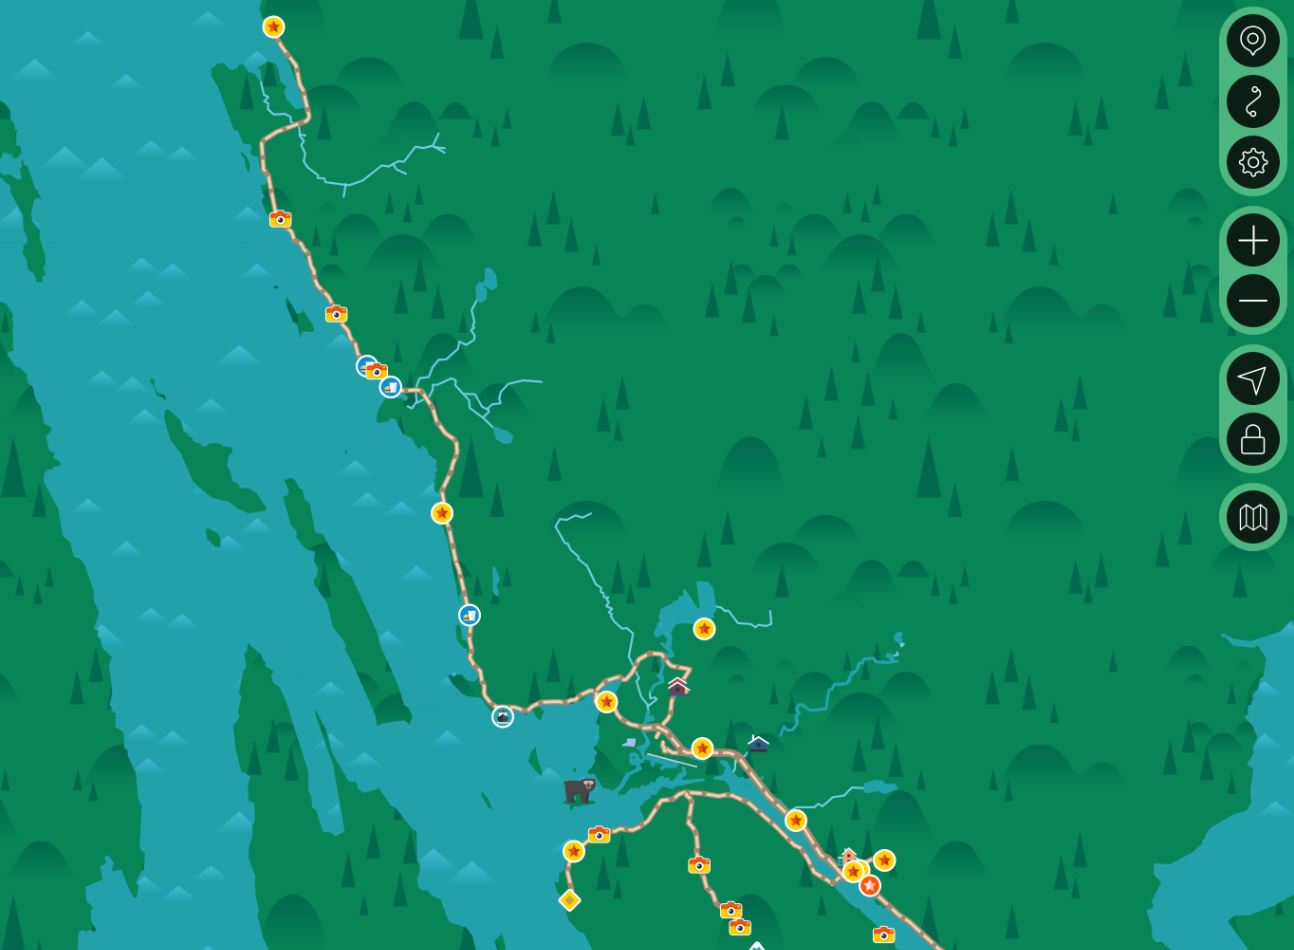
Use to zoom out over a broader region of Juneau.
Locate Me
Use this feature to know where you are on the map. It is GPS integrated and will work regardless of whether the area has cell service.
Lock Map
Select the option if you do not want the map to move, or zoom in, as you travel along the road. Unselect it if you would like the map to move with the vehicle, similar to the GPS systems in many vehicles.
GPS Map View
If you care for a more traditional GPS map, select this option. Re-selecting it will take you back to the Unplugged Adventure’s customized map.
Tips
Tips on altering your trip already in progress:
(1) If you need to return to the cruise ship terminal, Unplugged Adventure’s home base is the yellow star circled in bright red. Located just below the point-by-point directions in the upper left of the screen, you will see your upcoming points of interest. Continue clicking "next" until Home Base appears and you will be guided back to the cruise deck.
(2) Want to add a picnic, photo site or unplanned destination to your tour already in progress? No problem.
- Select
Design Button
- Scroll to the desired location, photo opp or picnic
- Select "Add"
- Select
Optimal Route Assistance and select "Optimize route", then continue along the guided route.
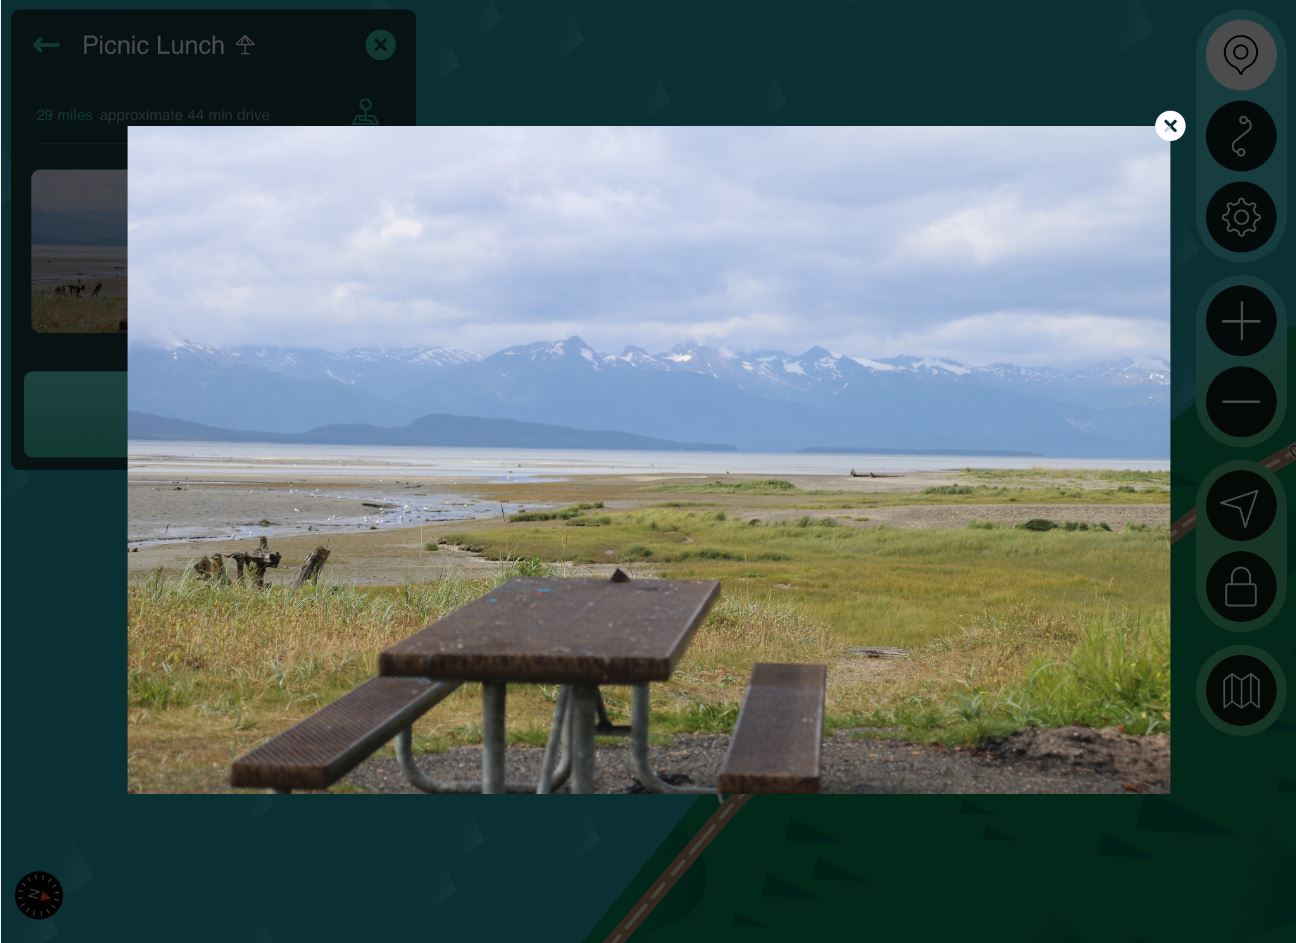
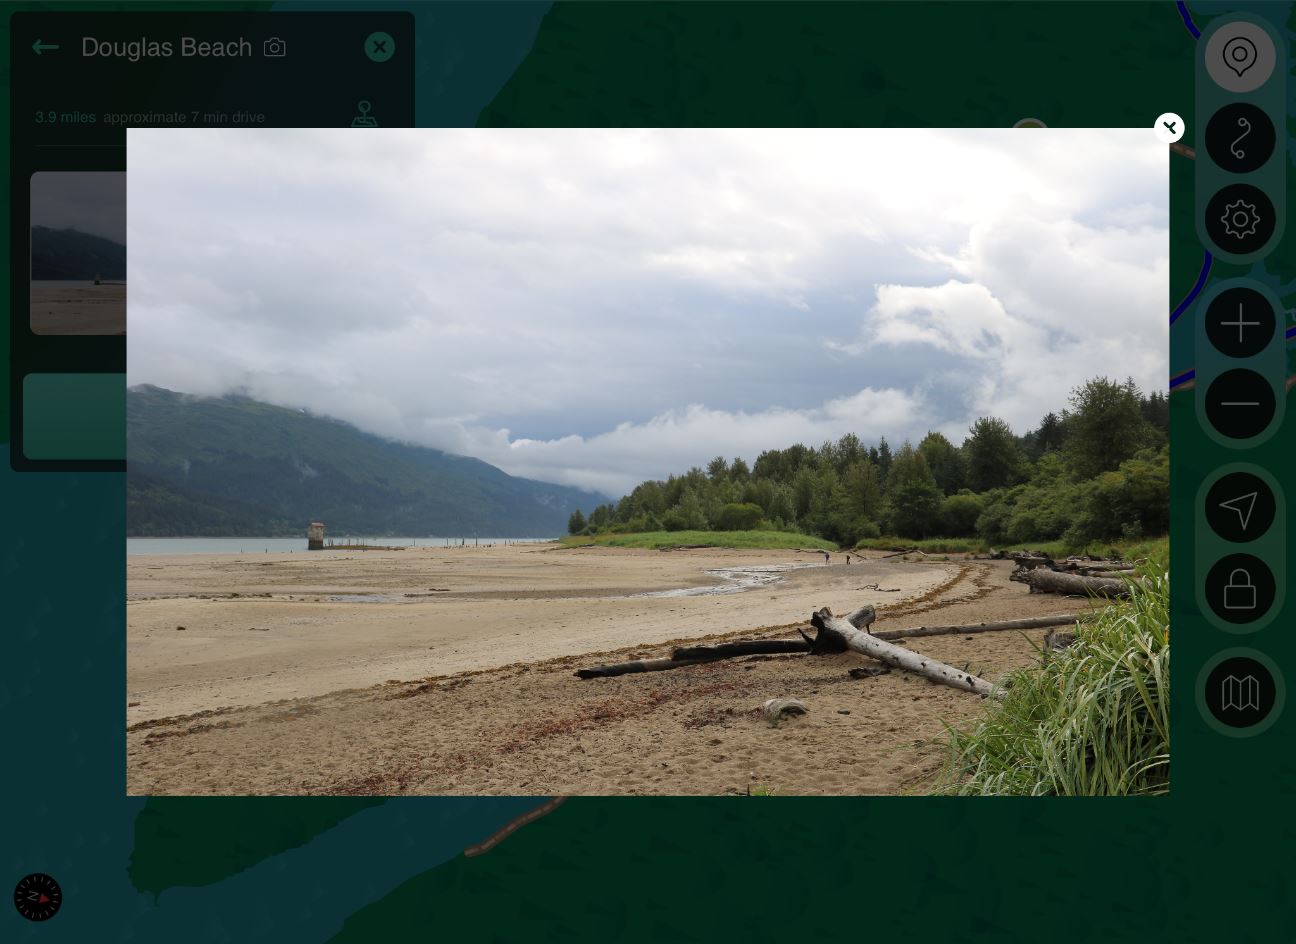
NOTE: By tapping the picture on each listed location, you can enlarge the picture and get a brief description of the location before you add it to your trip. Simply select the X to minimize it.
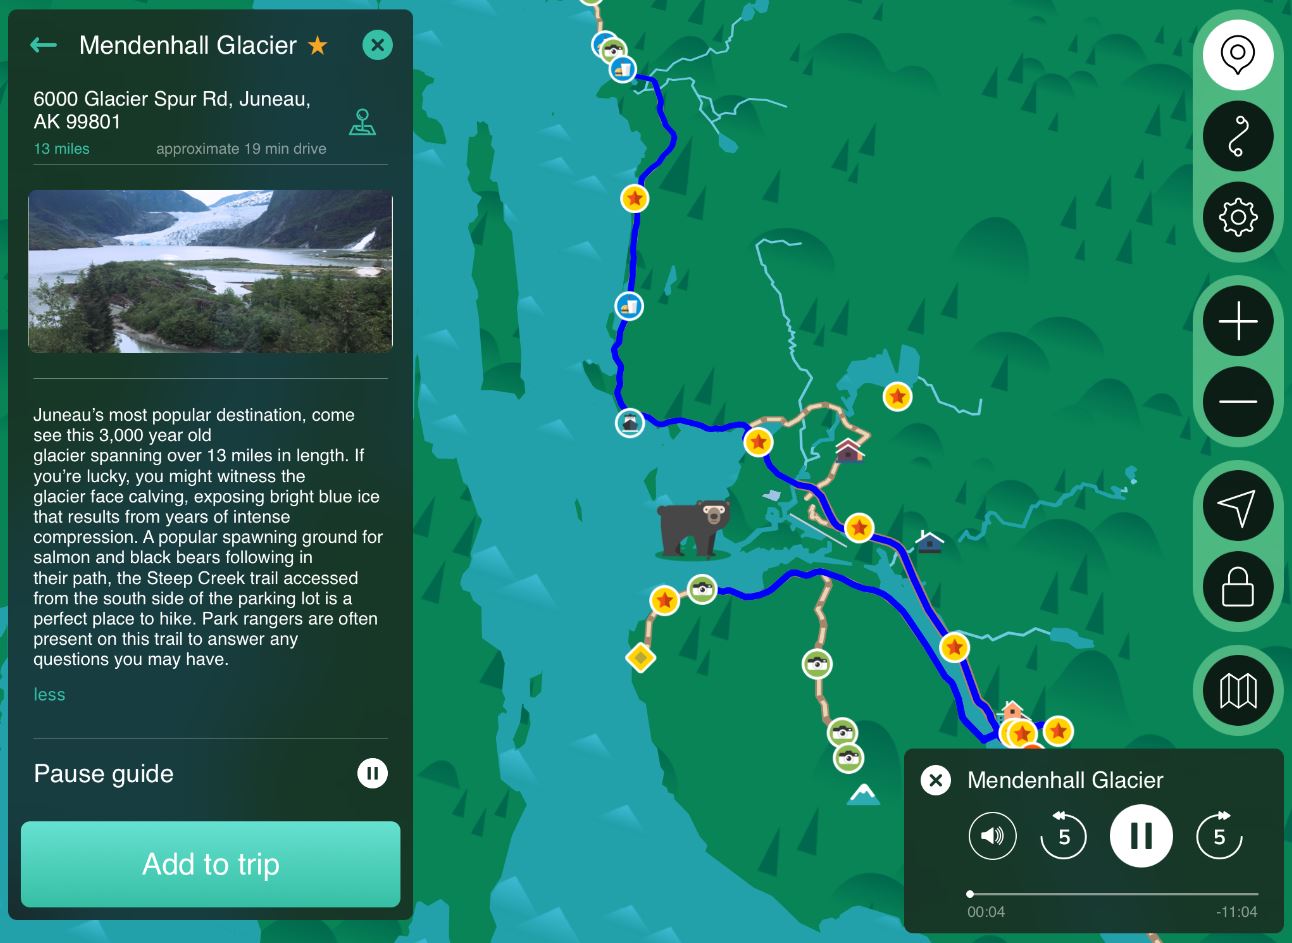
Listen Guide Option
Located on bottom right of screen.
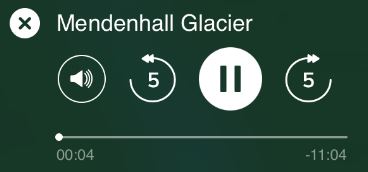
Inevitably you will need to make an unplanned stop somewhere along the way. Whether it's an animal in the distance, or a snack along the way, use this button to pause, restart, rewind and fast-forward your audio guide.
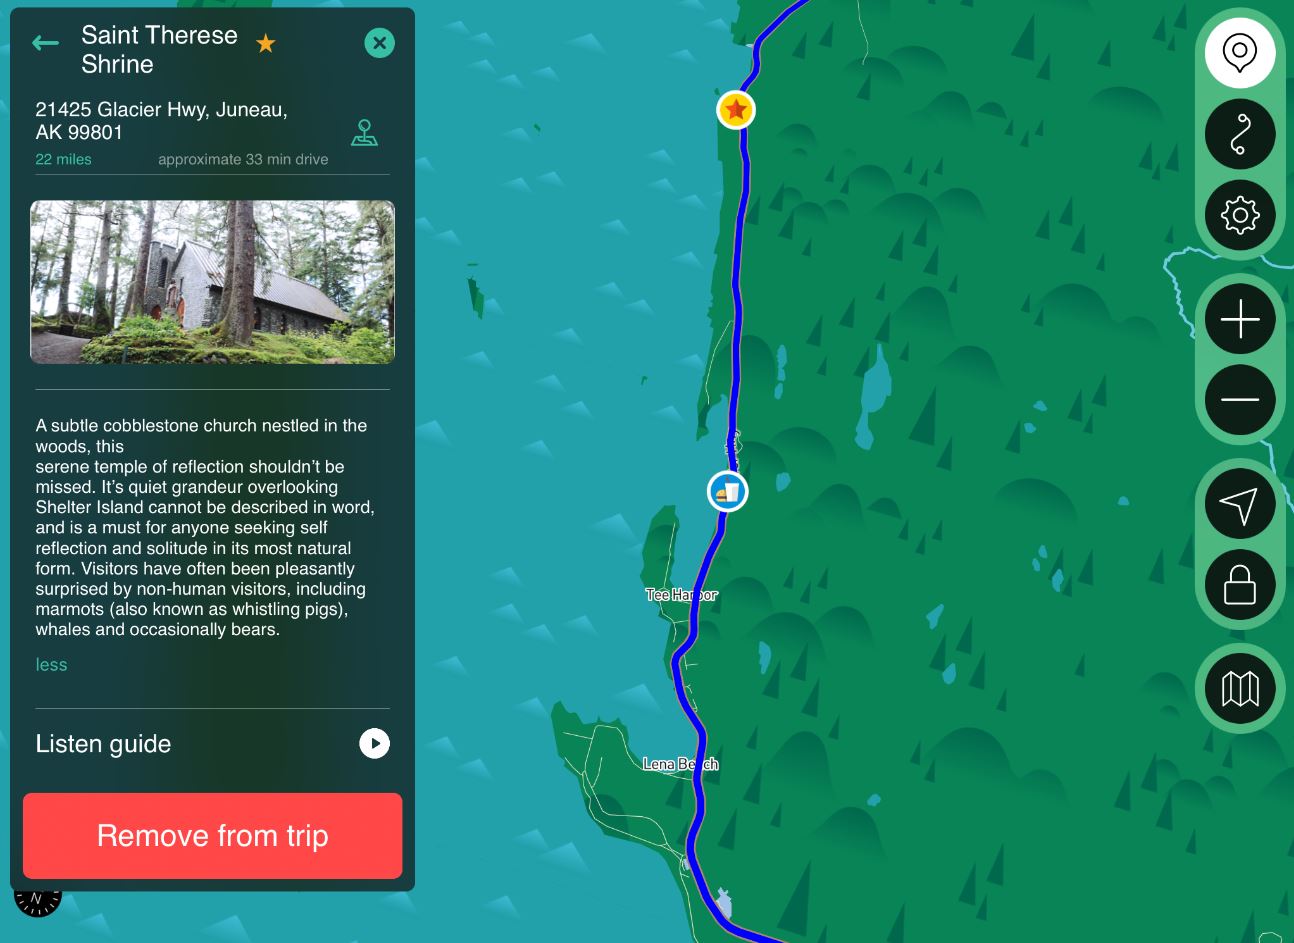
(3) Want to remove a site already in your planned trip? Similar to adding a new location above, simply select the site from the list using the Design button at the very top right of the page, then select ‘Remove from trip’.
Remember to select ‘Optimize route’ from the Optimal Route Assistance button (second button from top) after adding or removing any location once your adventure is already in progress. You will not need to optimize your route if you have not made changes to your original course.

 Design Button
 Optimal Route Assistance and select "Optimize route", then continue along the guided route.